What’s the most stressful experience for an exhibitor at a trade show? It’s not the show, the exhibit fabrication, or the dismantling. It’s the exhibit installation. Even the most seasoned trade show warrior knows to expect a few surprises… like unfamiliar show hall regulations, new labor partners, or freight damage. Just when you thought you’ve seen everything, something unexpected happens that requires you to pull a rabbit out of your hat.
If none of that ever happens to you, congratulations! No need to read anymore. But for the rest of us, here’s some practical advice from those of us who have dropped a crate door on our foot more than once. Or forgot to complete the electrical order. Or still don’t know the difference between a decorator and a rigger. Fortunately, we’ve learned just enough to give you some pratical advice.
The Key to Efficient Exhibit Installation
PPQ – Planning, preparation, and questions. If you take away anything from this article, it’s that PPQ will (eventually) make your life on the show floor much much easier. A lack of PPQ however will (at best) cost you money/sales and (at worst) get you fired. Trust me, you don’t want to get fired because you didn’t take your role as the company’s trade show coordinator seriously. It will haunt your dreams and remain in your permanent record for the rest of your life.
PPQ will save you time, money, and an aneurysm. Here’s a list of 15 tips that will help avoid common obstacles that can waste time and drive labor costs through the roof. As you’ll see, there’s a theme here — PLAN AHEAD! Do it right and you’ll come in under budget and get a pat on the back from your boss.
15 Tips for Successful Exhibition Install and Dismantle
Nothing you’re about to learn falls under the category of Rocket Science. It’s mostly common sense, once you know it’s common sense. 99% of the time common sense advice came from someone who did something stupid or you did something stupid and learned your lesson. That’s the basis of common sense. Not all of the 15 Tips below will apply to every situation, but at some point, you will personally experience every single one.
1. Selecting an Exhibit Installation Partner
Many exhibitors don’t realize they have labor options for their exhibit installation. They default to the general show contractor’s labor pool. Consider an Exhibitor Appointed Contractor instead. These are independent labor companies, generally with offices in major trade show destinations like Chicago, Orlando, Las Vegas, and New Orleans. As independent labor providers, their goal is to earn your business long-term. You benefit from a consistent partner who knows your exhibit and your trade show needs, much like having a car mechanic who knows the history of your vehicle. This will reduce your stress level and save you time and money over time.
2. Prioritize Early Communication with Your Exhibit Installation Team
Communicate early with the lead on the Installation and Dismantle (I & D) team by scheduling a call prior to the set-up to discuss the details & your expectations. Ideally a month in advance but even two weeks before the show is fine. And be sure to send set-up diagrams, booth orientation (direction), and graphic layout orientation ahead of time. If you skimmed over that last sentence, then read it again. It’s VERY VERY IMPORTANT!
Exchange contact information in case something unexpected comes up so that all parties can get a hold of one another.
3. Ensure All Necessary Installation Tools and Equipment Are Arranged
Be sure to arrange for the necessary tools and equipment with your labor provider or show contractor (# of ladders and heights? Genie lifts needed? Banding tools and supplies for client pallets or equipment?). At the same, get a small toolbox and purchase supplies you may need at the show. This can include several screwdrivers, pliers, vise grip, allen tools, a small saw, hammer, and tape measure. In addition, the following may come in handy: Velcro, electrical tape, magic marker, laminate paint marker, Tide Stain Stick, clean microfiber cloths, and a basic first aid kit.
4. Detail Your Electrical and Power Needs
Send your I & D provider copies of your electrical order and a grid layout detailing the location (and specific power needs) for each drop. Again, be sure that the grid layout indicates the surrounding booth locations to ensure the booth is being oriented properly.
If the show forms about your electrical needs don’t make sense to you, that’s OK. Not everyone understands amps and watts. However, the show contractor who handles those orders will usually walk you through it if you contact them. After you do it two or three times, it will make perfect sense.
5. Confirm Flooring and Signage Installation Plans
Same thing with your flooring. Double-check to make sure your flooring has been scheduled for installation prior to your set-up. Be sure to send copies of your carpet and/or flooring order to your I & D company. If there are delays at the show site, they can act as the advocate on your behalf. Your flooring plan should include any electrical wiring requirements under the flooring.
6. Conduct Pre-Setup Checks for a Smooth Start
If possible, ask that your I & D company — the day before the set-up — check to see that the electrical and flooring have been installed correctly and that your booth is clear of crates and show materials. No one wants to pay for “dead time” where you’re waiting for the flooring to be installed or your crates to be delivered.
7. Provide Comprehensive Assembly Documentation and Visuals
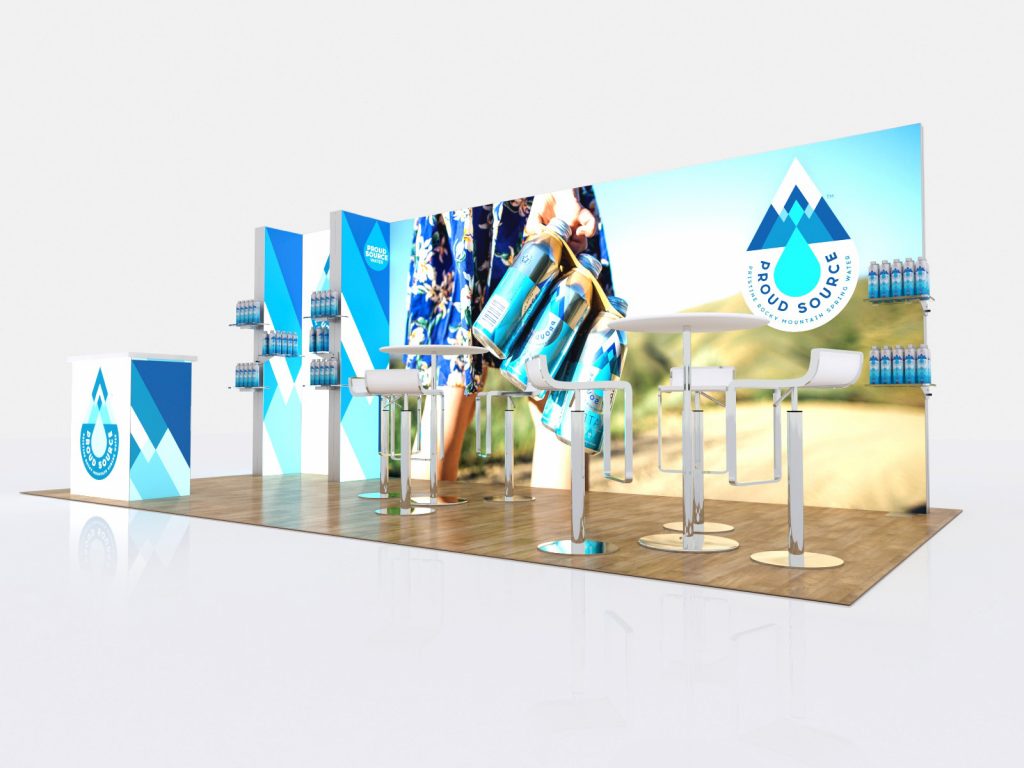
Print and email copies of line drawings, renderings, and staging photos of your exhibit design. Also, include hard packets of this information in your exhibit cases/crates, so there are plenty of copies for the I & D team to use. Make sure you understand the assembly process too. It’s one thing to have instructions. It’s another thing to fumble through them during installation. Your goal should be efficiency and confusion is the enemy of efficiency.
8. Label Every Component Clearly for Easy Exhibit Assembly
Every exhibit component should be labeled and have a corresponding reference to your assembly instructions. That’s the responsibility of the exhibit builder or manufacturer. Your responsibility is to ensure that happens and to hold their feet to the fire. The number one complaint by I & D labor is confusing instructions and poorly labeled components.
9. Share Booth Assembly Tips and Tricks for Complex Components
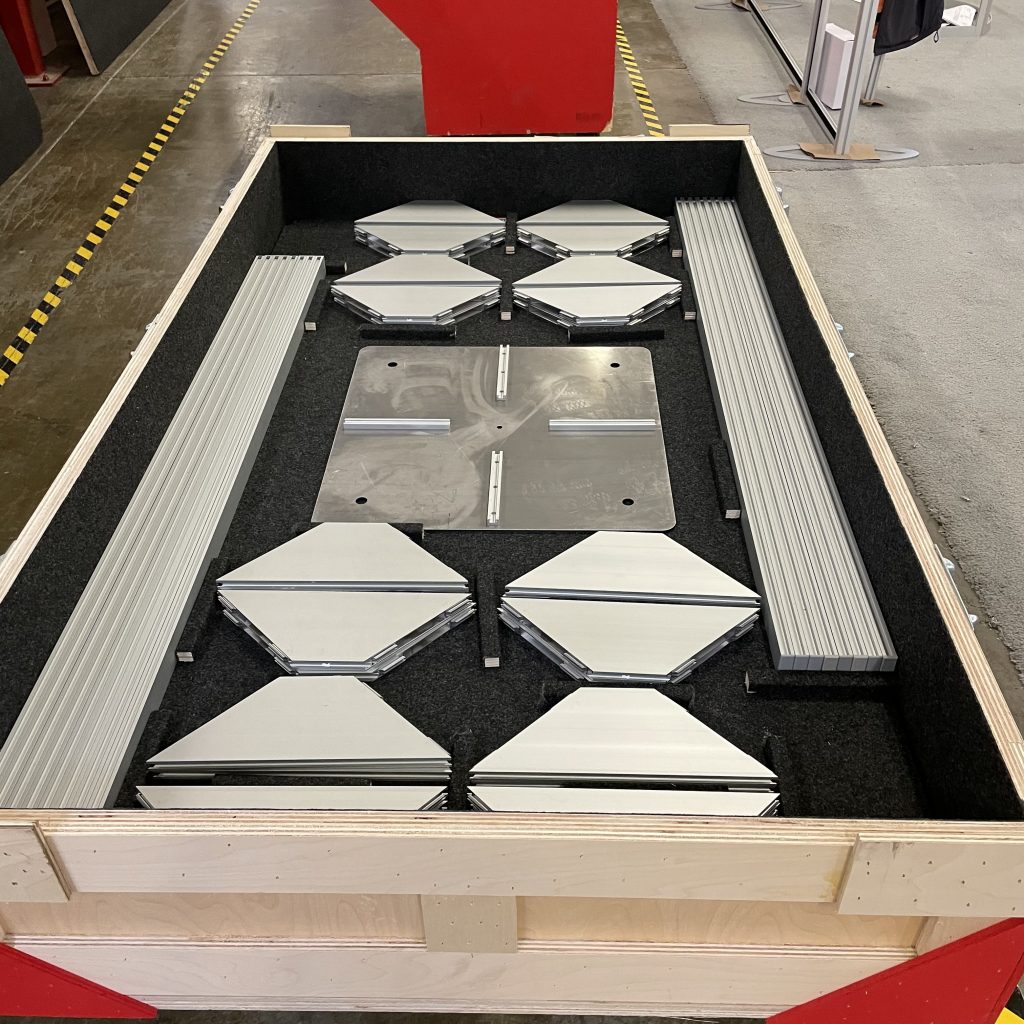
Make notes and take photos to help describe any little tricks, tips, or special attention details for assembling any of the more complicated components.
10. Review Trade Show Booth Setup Expectations and Order with the Team
Ideally, you would review the installation with your labor provider several weeks before the installation. In addition, schedule a brief meeting with the I & D team right before the setup begins to review your expectations for the day; show them your set-up diagrams and photos so they can visualize the finished product.
Spend a few minutes on introductions. Don’t be shy about asking questions and requesting advice from the labor crew. The meeting demonstrates you want to get it right, and that you are personally invested in the success of the installation.
11. Address Team Performance to Maintain Exhibit Standards
If you find that a member of the I & D team just isn’t performing to your minimum standards, you have the right to request a change. It happens, and the best time to address it is when it happens, not two or three weeks later. Can it be uncomfortable? Yes, but you’re paying for a service and (within reason) the work and the worker should meet acceptable standards.
12. Feedback on the Exhibit Installation Services
No one wants a frustrating installation experience. Not you. Not your labor provider. Clear, tactful, and respectful communication during the installation should be your #1 priority. But there are times and situations where some topics are best handled either off the show floor or after the show. Take the time to share your thoughts, both positive and negative, with your labor provider. They want feedback on your experience, especially an Exhibitor Appointed Contractor. Their business depends on repeat business. Knowing how they can meet your needs on future installs makes their job and your job easier.
13. The Union Rules and Regulations at the Exhibition Center
Quick reality check. The union rules and regulations often vary from city to city, even from show hall to show hall. No one expects you to be well-versed on what riggers can do in Philadelphia or electricians can do in Chicago. Your labor partner, however, knows those regulations. And they are expected to follow them. You may be OK with some of them and be angry about others, but when you decide to exhibit in Boston (for example), you agree to abide by those rules. Feel free to whine and complain if it makes you feel better, but you don’t have the authority to rewrite the union contract.
14. The Dismantle is Just as Important as the Install
There’s so much stress associated with the installation, we tend to forget that the exhibit has to be dismantled in 2-4 days. You shouldn’t. While it goes faster than the installation, the dismantling is equally important. Ideally, ask for the same labor crew during the dismantling as you had at the installation. That way, there’s no learning curve. Secondly, do a quick huddle-up just like you did 4 days earlier to set expectations and get everyone on the same page. Finally, don’t cut corners when repacking the components. The final product should be identical to what arrived, if not better. That will reduce any possible damage and make your life easier when you have to do this all again.
15. Become a Member of The Exhibitor Advocate
If you want to be a more successful exhibitor and have suggestions about how to improve the trade show industry, then join The Exhibitor Advocate. It’s free.
The Exhibitor Advocate amplifies the voice of exhibitors to ensure the enduring success of exhibitions and events by collaborating with all stakeholders to promote and cultivate open communication, consistent standards, and industry best practices.
In addition, The Exhibitor Advocate promotes consistency, accountability, and predictability in all event industry engagement opportunities. It advocates for:
- Open, transparent communication and reporting
- Involved, purposeful exhibitor advisory committees
- High-quality, specific buyer data, metrics, and leads
- Economical, more predictable exhibiting costs
- Improved audience engagement and increased ROI through multiple channels
- Simpler rules and pricing models with fewer restrictions
- Being considered valuable members of the exhibitions and events community — experts, thought leaders, and peers
Elevate Your Presence with Expert Trade Show Exhibit Installation and Dismantle
In the beginning, the installation and dismantling process can be challenging. There’s confusing jargon, inconsistent regulations, and too much and too little information. However, the importance of planning, communication, and utilizing professional services for successful exhibit installation and dismantle cannot be overemphasized. In the end, control what you can control. Don’t miss deadlines. Ask questions. And consider working with an Exhibitor Appointed Contractor.
For 30 years, Classic Exhibits has been designing and building creative custom solutions for our Distributor Partners and their clients. As the largest private-label exhibit designer and builder in North America, we have the unmatched capability, capacity, and creativity to create 3D projects ranging from 10 x 10 inline displays to 60 x 80 double-deck islands.
Find success on the trade show floor with an exhibit that reflects your marketing message. For more information, see www.classicexhibits.com and explore Exhibit Design Search or request a meeting with a Classic Distributor Partner.


